Perfect chocolate cake part 2
I suppose it's about time I told how to frost that cake we baked yesterday.

I was trying to decide between a combination of chocolate with peanut butter, or chocolate with coffee. Now don't get me wrong, I love me some Reese's, that's for sure. But I baked this on Sunday as I was drinking a homemade latte, so I was feeling the coffee buzz. Coffee has a way of bringing out the chocolate flavor (as if it was subtle and needed to be brought out more). It ended up being ah-mazing. Like so good I just wanted to keep it home and eat it myself with my hands... Yeah, it's that good. Enough teasing. Here's the recipe so you can go make it for yourself.
Mocha filling
Ingredients
- 1/2 c good chocolate chips (I used Ghiradelli)
- 1/2 c 2% milk
- 1 T instant coffee granules
- 3/4 c powdered sugar
- 6 T unsalted butter (room temp)
- 1 t vanilla extract
Directions
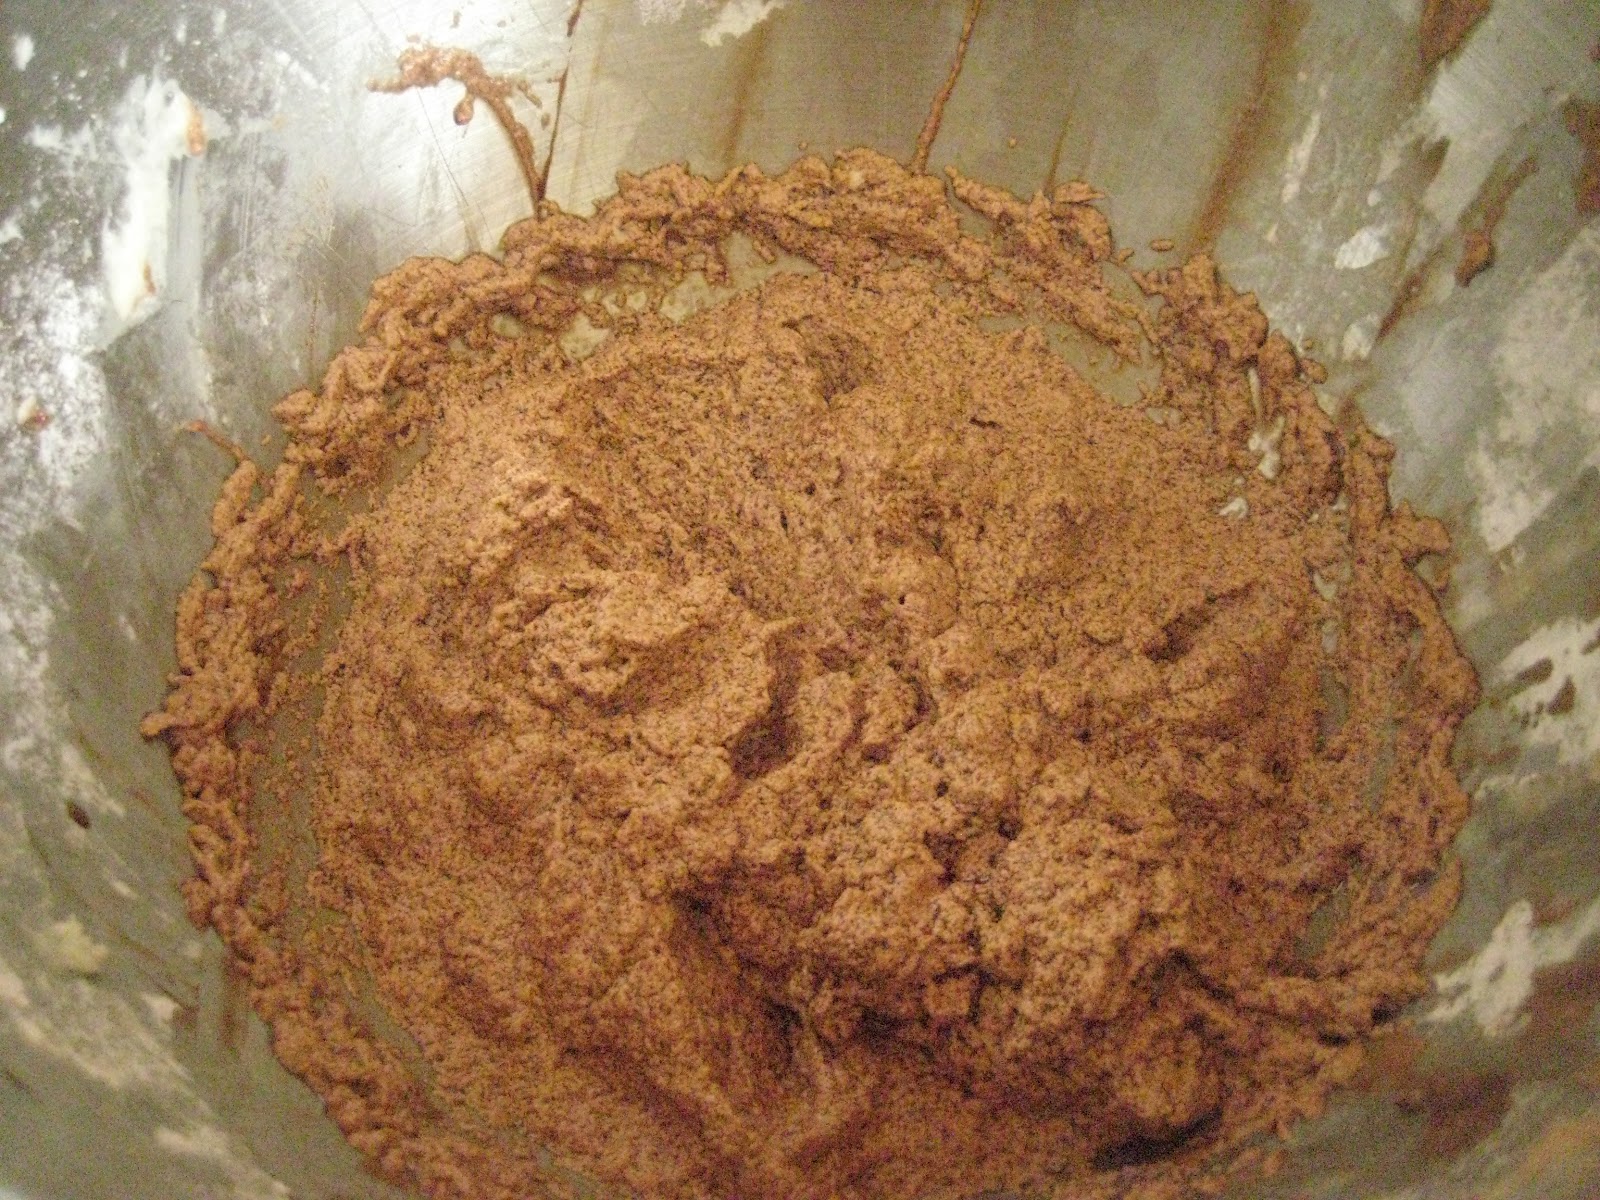
- Heat choc chips, milk and coffee granules in saucepan over medium heat until chocolate is melted
- Remove from heat and put in the fridge 20 minutes

- Cream softened butter in mixer until light and fluffy, add powdered sugar and vanilla and beat until combined.
- Add in cooled chocolate mixture
- Beat on high until smooth and creamy
Now for the frosting.
Chocolate buttercream
Ingredients
- 1/4 c butter (room temp)
- 1/4 c non-hydrogenated vegetable shortening
- 3/4 c unsweetened cocoa powder
- 2 1/4 c powdered sugar
- 6 T milk
- 1 t vanilla extract
- Beat butter and shortening in mixer until light and fluffy
- Add cocoa powder, mix 2-3 more minutes until smooth

- Add powdered sugar 1/3 c at a time, adding 1/2 T milk after every addition.
- After all of the powdered sugar is added, mix in vanilla extract
- Beat on high 3-4 more minutes until frosting is whipped

Now for the cake assembly -
First, you want to level off your cakes with a large serrated knife if they are not flat.

Then I take 4 2-inch strips of wax paper and place them around the edges of the cake stand. This will keep any mess off of the stand, and when you're all done you just remove the paper and have clean edges.
Next, I take a small dab of frosting and put in the middle of the stand to prevent the cake from slipping.
 |
| wax paper edges, and frosting center |
Fill a piping bag with your mocha filling.

Never fill the bag more that 2/3 of the way. If you do, things will get messy quick! Now snip the end of the bag, about 1/2 inch up. Pipe a ring around the edge of the cake. This is making a "dam" for the filling so it doesn't ooze over the edges. Fill in the dam with the rest of your filling.

Use a butter knife to smooth the filling.

Place your next cake layer on top carefully.

Now take a small amount of your chocolate buttercream and spread it over the top of the cake. This is your "crumb coat". Put the cake in the fridge for 30 minutes so the crumb coat hardens. This will prevent any crumbs from getting through your final layer of frosting.
 |
| it doesn't have to be pretty |

Then spread the rest of the frosting on the top and smooth it with a spatula.
Now that your cake is covered, take a buttered knife or offset spatula and drag it through the frosting lightly to create a "painted" rustic texture.

Do this all over the top and sides. Remove the wax paper strips carefully and marvel at your beautiful work.
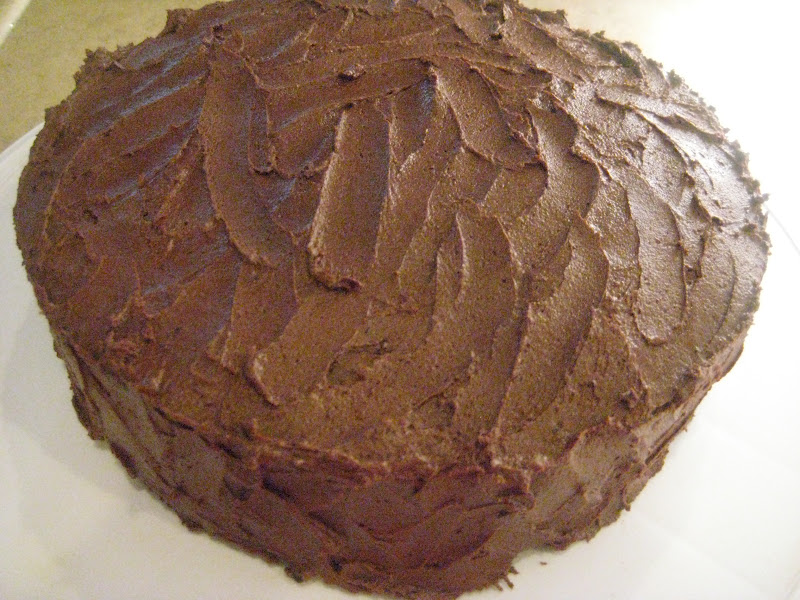
You don't have to tell anyone how easy it was. I l-o-v-e the rustic texture. It looks homemade, yet professional all at the same time.

So this is the third wedding cake I made in my trials. The second cake can be seen here. The verdict? The first cake was much more complex in ingredients and technique. It was good. This cake looks hard, but it's so easy to make. The cake is moist and chocolatey. Honestly, I'd make AND eat this cake over the second one any day. I will definitely make the second one again, with a few modifications. The thing is, I don't really want to be super stressed about this a few days before my wedding. I don't really see the need in making something more complicated, when this one comes out perfect every time. As far as the first cake goes, that one was also phenomenal. I'm not sure if I'll pick the chocolate or vanilla-almond with raspberry. You'll have to wait and see what I decide to do. I'll be sure to recap in 2 short months!
Question of the day -
What do you think about non-traditional wedding cakes?
posted by What's Annie Making? @ Tuesday, March 27, 2012
1 Comments
![]()


1 Comments:
Ahh. The fridge! I will most definitlely be 'chilling' my cakes from now on to prevent the crummage! as for non-traditional wedding cakes, I think they can be pretty neat. Personally, I have always wanted for my wedding (one day lol) a huge ice cream cake. I previously thought a giant ice cream sculpture laddened with personal ice cream cones that guests could come and 'scoop' out their own treat would be cool, pun intended, but then thought of how messy it would get altered my idea somewhat lol.
Post a Comment
Subscribe to Post Comments [Atom]
<< Home